You want hair that looks fuller, longer, and totally natural. Ladyidiy seamless clip-ins make it easy for you to achieve that look without stress. Many users love how these extensions blend right into their hair and never look shiny or fake. You get instant volume and length, and the silicone-based weft sits flat against your scalp. You can Insert Seamless Clip-Ins for a quick boost, whether you need a new style for a special day or just want extra confidence.
Before you start, you want your seamless clip-ins to look as natural as possible. Ladyidiy uses a silicone-based weft and 100% human hair, so your extensions blend right in and feel soft. These features make them perfect for thin or fine hair, since the wefts lay flat and stay hidden.
Feature | Description |
|---|---|
Hair Cuticles | Intact and aligned in one direction for a natural look and feel. |
Quality | Premium, soft, and durable hair. |
Longevity | Versatile and long-lasting wear. |
You don’t need a lot of fancy tools to prep your seamless clip-ins. Here’s what helps you get the best results:
Sulfate-free and alcohol-free shampoo
Deep conditioner or nourishing mask
Heat protectant spray
Dry shampoo
Satin or silk bags for storage
Hair extension hanger or plastic containers
Silk pillowcase
These items keep your hair extensions healthy and easy to style.
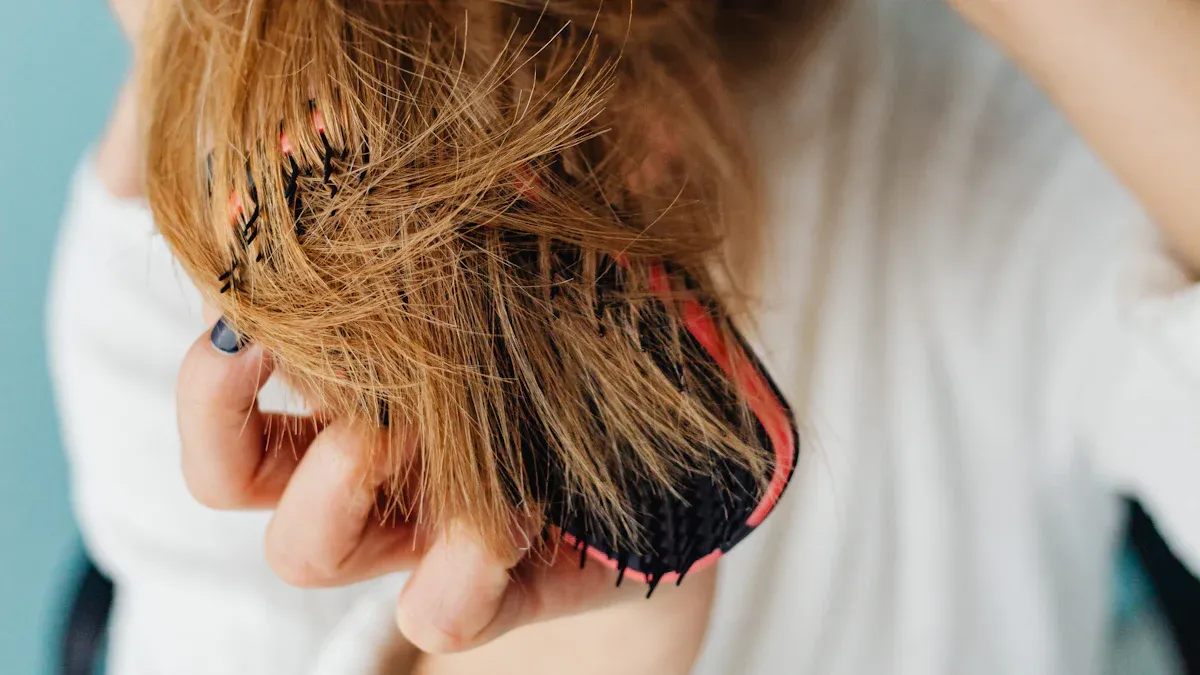
Prepping your hair is key for a flawless finish. Start by washing and drying your hair to remove any product buildup. Use a wide-toothed comb or a brush with soft bristles to gently detangle your hair. This creates a smooth base for your seamless clip-ins.
Next, divide your hair into sections. Use hair clips or elastics to keep each section neat. Most people section their hair horizontally from ear to ear. This helps you place the extensions evenly and blend them with your natural hair.
Tip: Always make sure your hair is completely dry before you start. This helps the extensions stay secure and look natural.
Picking the right length makes a big difference. If you have fine hair, seamless clip-ins work best because they add volume without bulk. The thin silicone base feels lightweight and comfortable. If you want to change your style often, these extensions are perfect for you.
Think about your lifestyle, too. Seamless clip-ins are great if you want a quick, easy look that stays discreet all day. You can style them just like your own hair, so you get the look you want every time.
Seamless clip-ins give you instant volume and length, especially if your hair is thin or fine. With the right prep, you’ll get a seamless blend that looks and feels amazing.
Ready to transform your hair? You can insert seamless clip-ins in just a few easy steps. Let’s walk through the process so you get a flawless, natural look every time.
Start with clean, dry hair. Brush out any tangles. Use a tail comb or your fingers to create a horizontal part at the nape of your neck. Clip the rest of your hair up and out of the way. This first section is where you’ll install clip-in extensions for the base layer.
Move up your head in small sections. Each time, create a new horizontal part about an inch above the last one. This method helps you insert seamless clip-ins evenly and keeps the wefts hidden. If you have fine hair, try teasing the roots a little or using a bit of dry shampoo for extra grip. This gives the clips something to hold onto and prevents slipping.
Tip: For the most natural look, leave a thin layer of your own hair at the bottom and around your face. This covers the wefts and blends everything together.
Now you’re ready to attach the wefts. Hold the seamless clip-ins with the clips open. Place the weft right against the roots of your parted section. Snap the clips closed, starting with the middle clip and then the sides. Make sure the weft feels secure but not too tight.
Here’s a quick checklist for comfort and security:
Use a lightweight, oil-free shampoo and conditioner before you install clip-in extensions. This keeps your hair clean and helps the clips stay put.
Spray a little texturizing spray or dry shampoo at the roots for extra grip.
Avoid silicone-based products on your roots. These can make your hair too slippery.
Tease or braid the section where you’ll attach the weft if your hair is very fine.
Adjust the clip tension so it feels snug but not uncomfortable.
Give the weft a gentle tug to check that it’s secure.
Silicone wefts lay flat against your scalp. You don’t have to worry about bumps or visible tracks. Brands like Luxy Hair and Luvme Hair use similar technology to make sure the extensions blend perfectly with your natural hair. You get a seamless finish that’s comfortable all day.
If you want even more hold, spray a little hairspray before and after you attach the wefts. This trick helps the clips grip your hair and keeps everything in place.
To get that full, voluminous style, you need to layer your seamless clip-ins. Start with the thinnest wefts at the nape of your neck. As you move up, use thicker pieces near the crown. This method builds volume without looking bulky.
Here’s how to layer for the best results:
Begin with the lowest section and attach the smallest weft.
Move up and add larger wefts, spacing them evenly.
Tease the roots before you install clip-ins for extra lift.
Offset each weft slightly so they don’t stack right on top of each other. This creates a natural flow and avoids any gaps.
Use the single-clip pieces near your temples or at the back for extra fullness where you need it.
Layering your hair extensions this way gives you a soft, blended look. The seamless clip-ins mix with your natural hair, so no one can tell you’re wearing extensions. You can style your hair straight, wavy, or curly—whatever suits your mood.
Note: Always check for comfort as you go. If a weft feels too tight or pulls, unclip it and try again. You want your style to look great and feel good, too.
You’ve now learned how to insert seamless clip-ins like a pro. With these steps, you can install clip-in extensions quickly and enjoy beautiful, natural-looking hair every day.

You want your hair extensions to look like your own hair. Start by brushing your natural hair and seamless clip-ins together. This helps the strands mix and creates a seamless blend. If you have layers, trim the ends of your extensions to match your haircut. You can also use a little dry shampoo at the roots to add grip and volume.
Try these tips for a flawless finish:
Place the extensions under enough of your own hair so the wefts stay hidden.
Use a wide-tooth comb to gently blend your hair with the extensions.
Style both your hair and the extensions together for a smooth look.
If you want to experiment with color, Ladyidiy offers free hair color samples. You can try highlights or lowlights without changing your own hair.
Heat tools help you get a natural look with your clip-in extensions. Curling irons and flat irons let you match the texture of your extensions to your natural hair. When you style both together, the extensions blend in and look real.
Here’s how heat tools help:
They let you create straight, wavy, or curly styles.
You can match the texture of your extensions to your own hair.
Proper styling makes the extensions look like part of your hair.
Tip: Always use a heat protectant spray and keep the temperature low. This keeps your hair extensions healthy and shiny.
You want your seamless clip-ins to look perfect every time. Watch out for these common mistakes and learn how to avoid them:
Color mismatches: Match your extensions to the mid-lengths and ends of your hair, not the roots. Use a color-matching service if you need help.
Unnatural lengths: Pick extensions that are only 4 to 6 inches longer than your own hair. Style them together for a smooth blend.
Improper clip placement: Place clips below eyebrow level and make sure enough hair covers them.
Here’s a quick table to help you avoid visible wefts and get a flawless look:
Method | Description |
|---|---|
Select Invisible Wefts | Choose seamless wefts that lie flat and stay hidden. |
Strategic Placement | Clip wefts an inch away from the part for better concealment. |
Diagonal Placement | Place wefts diagonally for a more natural look. |
Maintaining Even Tension | Make sure wefts lie flat against your scalp. |
Blending Extensions | Layer and texturize for a seamless blend. |
Finalizing with Styling | Use heat tools to blend everything together. |
With these steps, you can style your seamless clip-ins in many ways. Try straight, waves, or curls. You can even play with color for a fresh look. Your hair extensions will always look natural and beautiful.
Taking care of your seamless clip-ins keeps them looking fresh and beautiful. You want your hair extensions to last as long as possible and always look their best. Here’s how you can do that with just a few simple steps.
You don’t need to wash your seamless clip-ins every day. When they start to feel heavy or look dull, it’s time for a gentle clean. Follow these steps:
Rinse your hair extensions with lukewarm water until the water runs clear.
Use a sulfate-free shampoo to keep the hair soft and shiny.
Apply a deep conditioner to add moisture and lock in color.
Let the conditioner sit for a few minutes, then rinse again.
Gently squeeze out extra water and let the extensions air dry on a towel.
Tip: Always handle your extensions gently. Swish them in water instead of scrubbing to avoid tangles.
Proper storage helps your clip-in extensions stay tangle-free and ready to use. Try these easy methods:
Place your extensions in a satin or silk-lined pouch to prevent static and frizz.
Coil or loosely braid the hair before storing it.
Use extension hangers to keep the wefts straight and smooth.
Store all pieces together in a cool, dry place away from sunlight.
Make sure your extensions are completely dry before you put them away. This stops mold and keeps them fresh.
If you want your seamless clip-ins to last, a little extra care goes a long way. Check out this table for quick tips:
Tip Type | Description |
|---|---|
Gentle Brushing | Brush gently to prevent tangles and keep the hair smooth. |
Proper Washing | Wash and dry the extensions the right way to keep them looking new. |
Nighttime Care | Use silk pillowcases or secure styles at night to avoid damage. |
Heat Protection | Always use a heat protectant before styling with hot tools. |
Protective Hairstyles | Choose low-manipulation styles during busy days or workouts. |
With the right routine, your hair extensions will stay soft, shiny, and full of life. You’ll enjoy your seamless clip-ins for months, and every style will look flawless.
You’ve learned how to prep, install, blend, and care for Ladyidiy Seamless Clip-Ins. Here’s a quick recap:
Brush your hair and extensions.
Section your hair for best placement.
Secure the wefts and layer for volume.
Blend and style for a natural finish.
Maintain with gentle washing and smart storage.
Practice these steps and experiment with different styles. You can install clip-ins on textured hair or straight hair for any occasion. With Ladyidiy, you get easy use, comfort, and a flawless look every time.
Try new looks and enjoy the confidence that comes with beautiful, seamless hair!